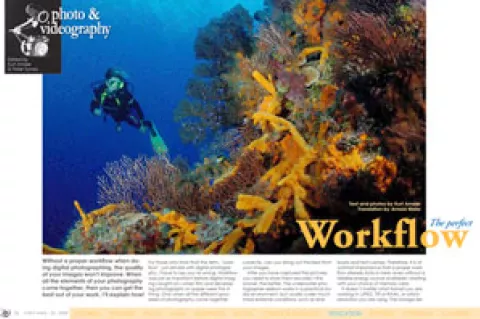
Without a proper workflow when doing digital photographing, the quality of your images won’t improve. When all the elements of your photography come together, then you can get the best out of your work. I’ll explain how!
Contributed by
Only when all the different processes of photography come together correctly, can you bring out the best from your images.
After you have captured the pictures, you need to store them securely—the sooner, the better. The underwater photographer seldom works in a practical studio environment, but usually under much more extreme conditions, such as dive boats and tent camps.
Therefore, it is of outmost importance that a proper workflow already kicks in here, even without a reliable energy source available—starting with your choice of memory card.
It doesn’t matter what format you are working in (JPEG, Tiff or RAW), or which resolution you are using. The storage device or memory card should be able to hold at least 200 images. This is sufficient for up to three dives per day. Thus, you can avoid opening your camera housing to change the memory card on a sandy beach or on a rolling boat deck. At the end of the day, you have ample time to transfer your images from the camera memory card over to your computer or other storage devices.
Data storage
The next stage in the workflow is the storage of data. We have many options to store our images.
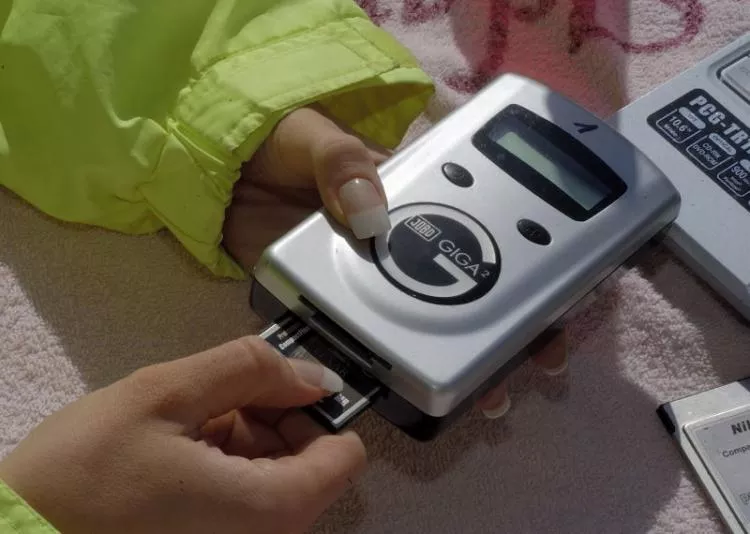
Laptops, CD burners or portable harddrives, or so-called portable storage devices. The best choice would be a portable storage device, either powered by a charger or by batteries.
If you have a portable storage device that can hold 80 Gigabytes, you can store images from one week of diving without any problem. Some portable storage device models, like the Coolwalker MSV-01 from Nikon (about 360 Euro for 30 GB) or the Epson P 2000 (about 430 Euro for 40 GB) also have displays, which allow you to see the images and to process them.
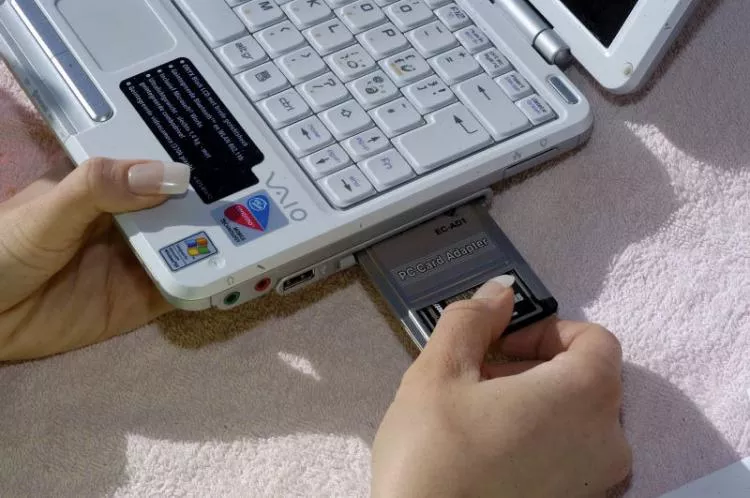
Additionally, you should carry back-up memory cards. You can keep all the originals and change to fresh cards whenever one is full, or you could go for the more expensive option, a laptop. With a computer you can also view your images and start editing them. With a CD burner at hand, you can also give away some nice memories to your diving buddies.
Digital workflow
The digital workflow is actually nothing else than keeping your images safe and to retain the colour fidelity—even if you have to transfer the images from one device to another, or from one kind of software to another. Only when the colorspace corresponds, will your images appear in with the natural colours.
It shouldn’t matter if your image is published as a photoprint or on a magazine spread. On simpler compact digital cameras, colorspace is already pre-adjusted. On high-quality cameras, you can adjust the colorspace manually.
The RGB colorspace is a limited colour matrix and ideal for web images and for the html standard. For anything else, you need a complete colour matrix, because you always have to process the images in a RGB/Adobe colour profile, which is optimized for printing.
You need to be careful when working in picture editing systems as some systems just add a preset colour profile to your images, if you don’t manually choose the correct one. To avoid this, have a look at the preset profiles, and if possible, choose the same profile which is integrated into the camera. The same goes for printing.
Calibration
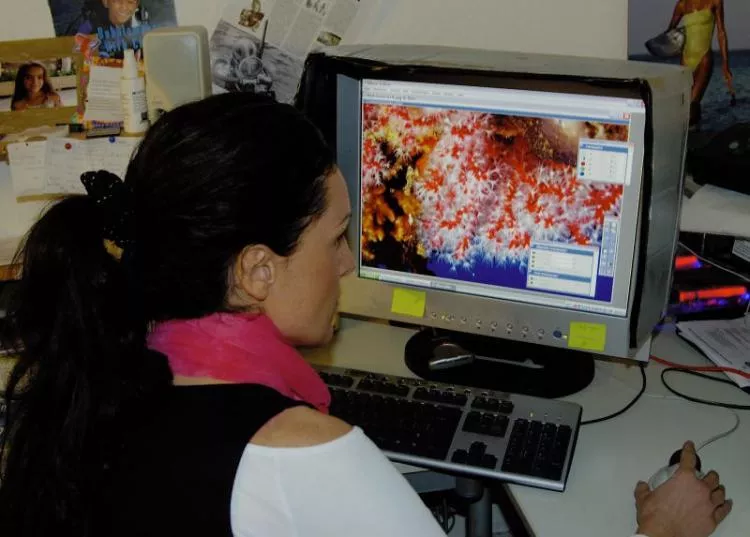
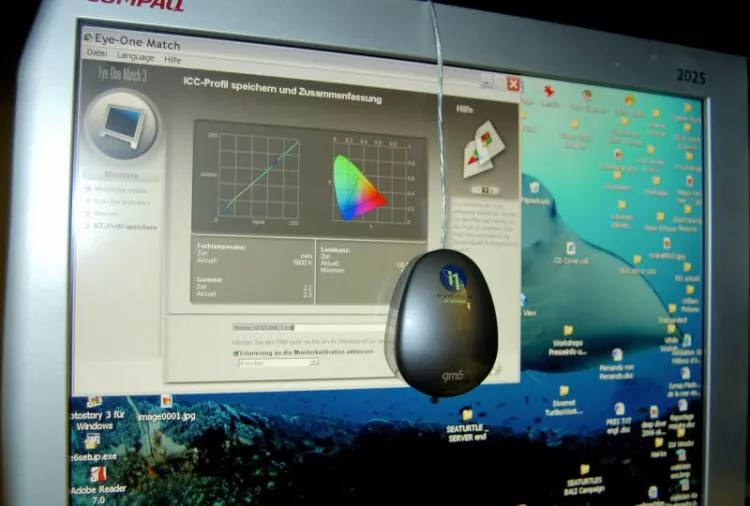
An another important part of your workflow is the screen, where you view your images. Most screens are well calibrated and show the real colours. But if you want to process images you need to calibrate your screen.
Software like Photoshop and Photoshop Elements from Adobe contains a “Gamma” program that let’s you calibrate your screen. Even better and more accurate is a colour management device like Eye One from Gretag Mcbeth.
As the colour profile on computer screens regularely change, you should calibrate your screen monthly. The expense for a good functional, secure and colour proof workflow, can seem a bit lavish. On the other hand, getting the best out of your images always pays off.
For more information, please visit: www.photosub.com ■

