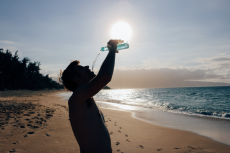
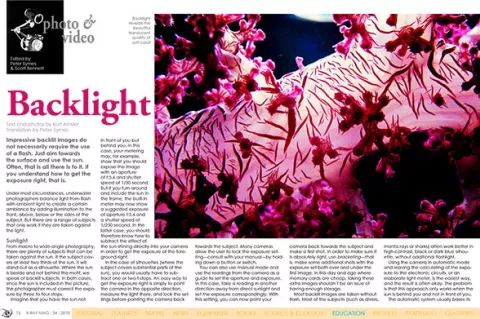
Impressive backlit images do not necessarily require the use of a flash. Just aim towards the surface and use the sun. Often, that is all there is to it. If you understand how to get the exposure right, that is.
Under most circumstances, underwater photographers balance light from flash with ambient light to create a certain ambiance by adding illumination to the front, above, below or the sides of the subject. But there are a range of subjects that only work if they are taken against the light.

Contributed by
From macro to wide-angle photography, there are plenty of subjects that can be taken against the sun. If the subject covers at least two thirds of the sun, it will stand out as a silhouette. Where the sun is beside and not behind the motif, we speak of backlit subjects. In both cases, since the sun is included in the picture, the photographer must correct the exposure by three to four stops.
Imagine that you have the sun not in front of you but behind you. In this case, your metering may, for example, show that you should expose the image with an aperture of f:5.6 and shutter speed of 1/30 second. But if you turn around and include the sun in the frame, the built-in meter may now show a suggested exposure of aperture f:5.6 and a shutter speed of 1/250 second. In the latter case, you should therefore know how to subtract the effect of the sun shining directly into your camera in order to get the exposure of the foreground right.
In the case of silhouettes (where the subject covers substantial parts of the sun), you would usually have to subtract one or two f-stops. An easy way to get the exposure right is simply to point the camera in the opposite direction, measure the light there, and lock the settings before pointing the camera back towards the subject. Many cameras allow the user to lock the exposure setting—consult with your manual—by holding down a button or switch.
You can also use manual mode and use the readings from the camera as a guide to set the aperture and exposure. In this case, take a reading in another direction away from direct sunlight and set the exposure correspondingly. With this setting, you can now point your camera back towards the subject and make a first shot. In order to make sure it is absolutely right, use bracketing—that is, make some additional shots with the exposure set both over and under the first image. In this day and age where memory cards are cheap, taking these extra images shouldn’t be an issue of having enough storage.
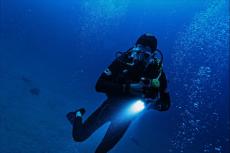
Most backlit images are taken without flash. Most of the subjects (such as divers, manta rays or sharks) often work better in high-contrast, black or dark blue silhouette, without additional flashlight.
Using the camera in automatic mode and leaving the calculating of the exposure to the electronic circuits, or an elaborate light meter, is the easiest way, and the result is often okay. The problem is that this approach only works when the sun is behind you and not in front of you.
The automatic system usually bases its calculations on the brightest areas of the image leaving all the shadows and darker areas hopelessly underexposed as result.
Fill
Using fill flash is often a balancing act and a compromise between background and foreground. The high brightness will often require very fast shutter speeds and small apertures. For example, consider a case where we have a diver appearing next to the sun disc. In this case, the metering system may call for an aperture of f:16 and of 1/60 second shutter speed combination. But the part of the diver facing the photographer won’t be lit, so how do we handle this? If the diver is, say, about two meters away, the flash would not often be able to create sufficient output if the aperture setting is f:16.
Since the duration of the flash output is a fixed entity, the answer lies in changing the exposure combination to one with a more open aperture and faster shutter speed. As we open the aperture, the shutter speed must be reduced correspondingly to maintain the same overall exposure.
Note, however, that at shutter speeds faster than 1/125 second, many cameras—especially older ones—will no longer be capable of staying synchronized with the flash. In this regard, digital photographers—who can also enjoy a more direct control and instant feedback—have a distinct advantage over the now diminishing breed of film photographers. Photographers who capture their images on film, should always make use of bracketing.
Subjects
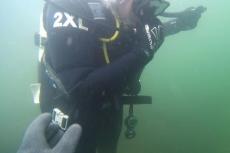
The easiest—and, especially at the beginning, most appropriate—subject is the dive buddy. He or she can be positioned without haste to ensure that you get the composition just as you want it. In this regard, make sure that your model’s equipment such as pressure gauge, console or belts and hoses are tucked in and worn close to the body. Having them dangling in all directions as many divers do does not look attractive on images.
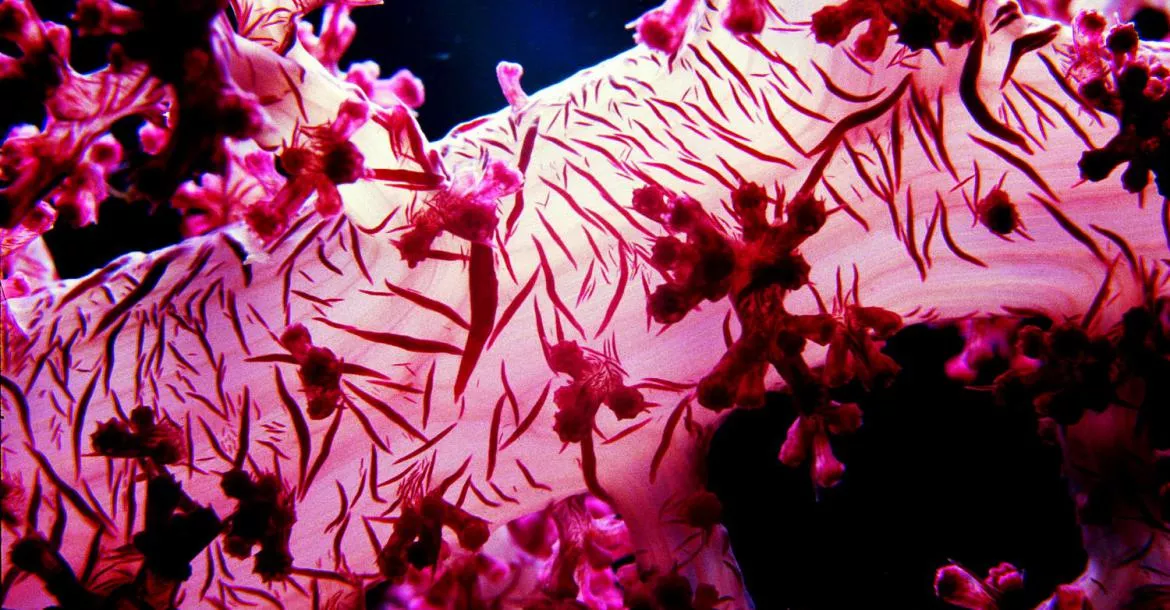
If you have a little patience, you will often get into situations where the diver starts interacting with approaching wildlife. In these cases, the main challenge is for the photographer to find the right position in relation to the sun. But with some patience, you will succeed not only in getting great shots of jellyfish (see photo above), but also turtles, manta rays, and even sharks and mackerel.
( ... )


")