A photographer’s heart always seems to beat a little faster when it comes to taking pictures of sunken ships and aircraft. So, how do you become successful in shooting wrecks? Granted, it is not entirely straight forward, but if you take the following advice and guidelines to heart, you will surely achieve good results.
Contributed by
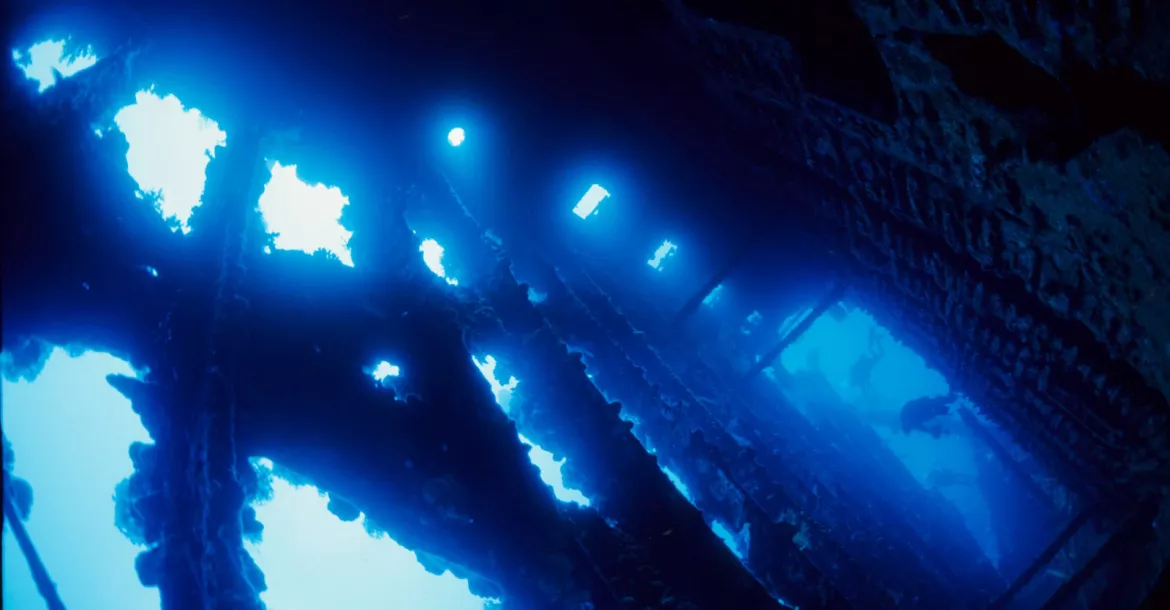
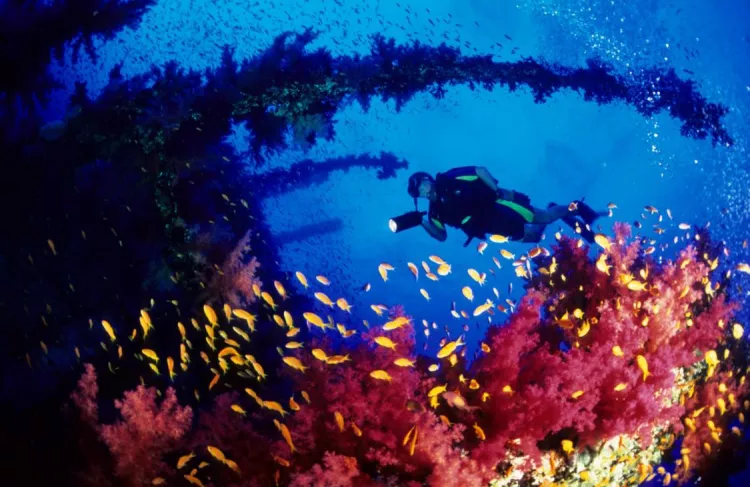
The challenge in shooting wrecks is that it often involves shooting at large distances, and that the circumstances are rarely optimal when it comes to current, visibility and depth. With the right equipment and good planning it is, however, possible to get a handle on the challenge. The objective is to portray as much of the wreck as possible, which is why the picture angle of the lens should be as large as possible. At least 90 degrees is necessary, but 180 degrees is more desirable.
The “Rolls-Royce” lenses for wreck photography are the so-called “Fisheye” lenses that are capable of capturing angles of 180 degrees or more. This, in turn, requires another piece of equipment: all wide-angle lenses must be housed behind a dome port, which is characterised by a dome-shaped spherical front glass. The curvature of this port must match the focal length of the lens if the corners of the resulting images are not to be out of focus.
Owners of SLR cameras have for a long time been spoilt for choice, with a huge selection of super wide-angle lenses with the recent addition of wide-angle lenses dedicated to digital cameras with their smaller CCD-sensors picture. When it comes to compact cameras, the possibilities are more limited, though some wide-angle lens attachments or converters have been put on the market—foremost through Sea & Sea and Inon—which enable image angles of up to 165 degrees.
The road to good wreck photography, as the ambient light always will be dominating, is to use flash to freeze the moment and bring colour to the foreground as well as enhance overall contrast in the image. That aside, you can only capture whatever reflected light the wreck is willing to give off.
There is only one way to go about it. In wreck photography, both flash automatic or TTL is taboo. Because you will usually be shooting in open water, the built-in programming will lead to wrong exposures. If the camera is equipped with a super wide-angle lens, the flash must also be capable of illuminating the same full image angle as that of the lens. Modern flash units usually cover at least 100 degrees, and that will suffice for most wide-angle lenses. If the coverage is insufficient, for example, when a fisheye lens is used, it can be necessary to use two flash units.
Most important is the correct aim of the flash or flashes. If the light has to pass through too much of the water between the camera and the object, the risk also increases that it will also bounce off suspended particles in the water and produce hazy images. It is therefore imperative to observe the following: at distances of more than 1.5 meters, the flashes must aimed straight ahead. Only if you get any nearer to the object should you consider any repositioning.
There is no flash unit in the world that can illuminate a complete wreck. That is why the exposure must always be calculated on the basis of the ambient light.
In these cases, adjust the camera’s exposure controls from readings using the built-in exposure meter in the old-fashioned manual manner. This could, for example, at a depth of 30m be aperture f:4.5 and shutter speed at 1/30 sec.
To properly balance flashlight with daylight, we know how to calculate the settings the flash unit should be set at for a given distance using f:4.5. Correctly balanced, the images will show infinite depth in the background and the foreground illuminated by just the right dose of light.
All the general rules for using flash also apply to wide-angle lenses, with the additional rule that on or inside a wreck, there is a much larger risk of stirring up particles. Good buoyancy and moving around carefully are of even greater importance to wreck photographers! The further away from the camera the flash is mounted, the less the risk is that the particles floating in front of the lens will reflect the light.
Plan the shoot
The images resulting from a wreck dive will often fail to meet our expectations if we don’t work out and follow a plan for the shooting. Once on the wreck, the time will only run by too quickly, so it is important that the photographer and the model knows exactly where to go and take up position already from the beginning.
To maintain a classic dive profile, start shooting at the deepest parts and work yourself upwards going gradually shallower.
Start, for example, at the propeller and move towards the bridge. Determine which subjects you want to shoot and also how much time you want to spend photographing each, so you can estimate air consumption and stay within the decompression limits. Always be safe when diving and use the buddy system. In regards to penetrating wrecks, there are also training, equipment and psychological issues to be considered.
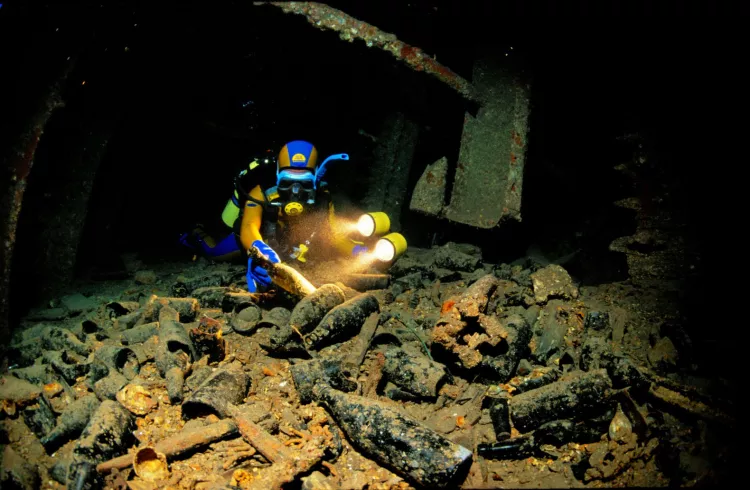
Here is another tip: If you want to photograph in the murky and dim interiors of a shipwreck, a pilot light or focus lamp mounted on the flash will come in very handy when you have to position the flash.
Wreck diving is very fascinating, and being able to bring back images only makes it more interesting. It only takes a bit of determination. The path to great images is not wide.
Tips
- Shooting wrecks requires prior planning. Only when the photographer and model have a prior understanding of the task ahead will good images result. Dive plans can be drawn up on a sketch of the wreck.
- Once on the wreck, the time will race by. Don’t plan too many shoots on one dive; it is better to do more dives.
- When diving below 30m, little ambient light will remain, and shutter speeds longer than 1/30 sec will come into use. Under these circumstances, it will be necessary to keep the camera very still. Good buoyancy skills and ability to maintain a steady hover makes this less of a problem.
- It is the ambient light that constitutes the background light on wrecks. A flash can only supply fill light to brighten the foreground. As is the case with underwater wide-angle photography in general, use flash on a manual setting to avoid wrong exposures.
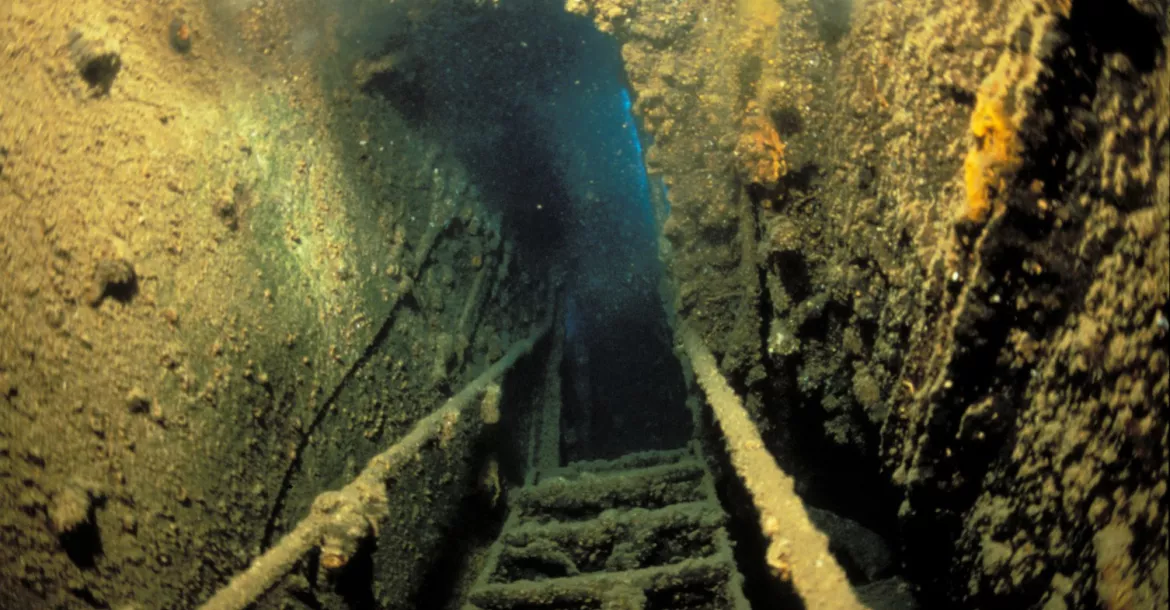
- It is no simple task to photograph the insides of a wreck. The long strobe arms are often in the way when moving through narrow corridors, and the risk of stirring up sediment is considerable. A well-balanced photo equipment setup that is absolutely neutral will considerably ease the task of working under such conditions.
- Sunken ships or aircraft will in no time turn into ‘artificial reefs’. You must dive these locations with the same understanding and consideration that should be giving to natural reefs.
- Wreck photography is captivating, and therein lies the danger. Always monitor time, depth and gas supply. Rule of thumb: 50 percent of the focus should be on the photography, 50 percent on the dive plan.
- Wrecks are often photographed at distances of more than 1.5 meters. It is therefore important that the flash, or flashes, be parallel to the optical axis of the lens, otherwise it will produce faded pictures and capture suspended particles in the images.
- On wrecks, you can find many animals that you don’t or rarely find elsewhere. It often pays off to bring another camera fitted with a lens of longer focal length in case any of these subjects should emerge.
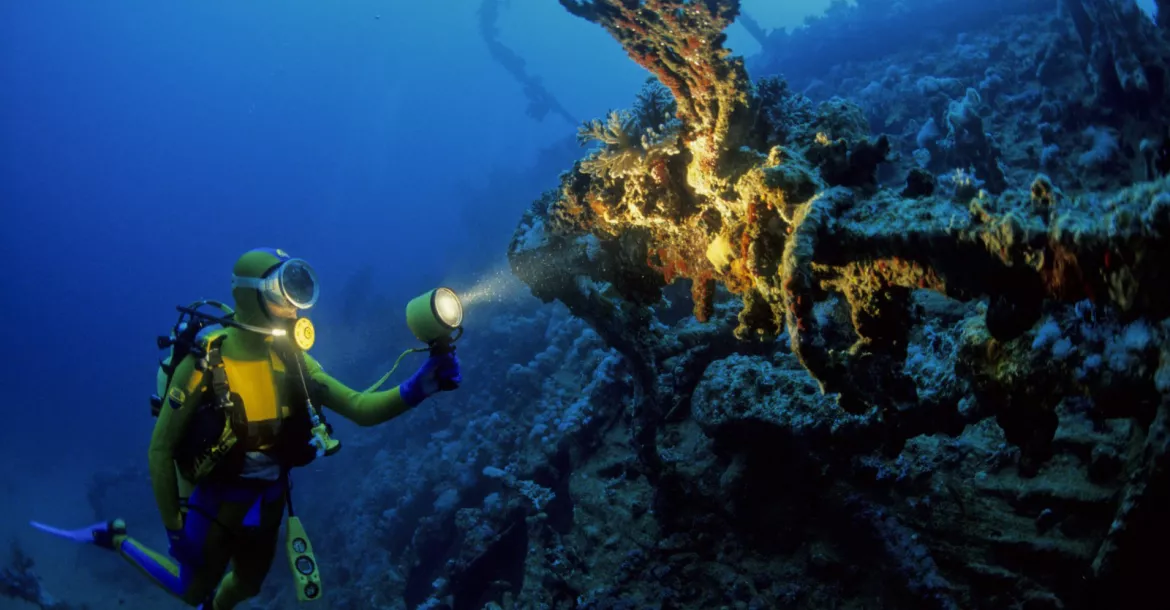
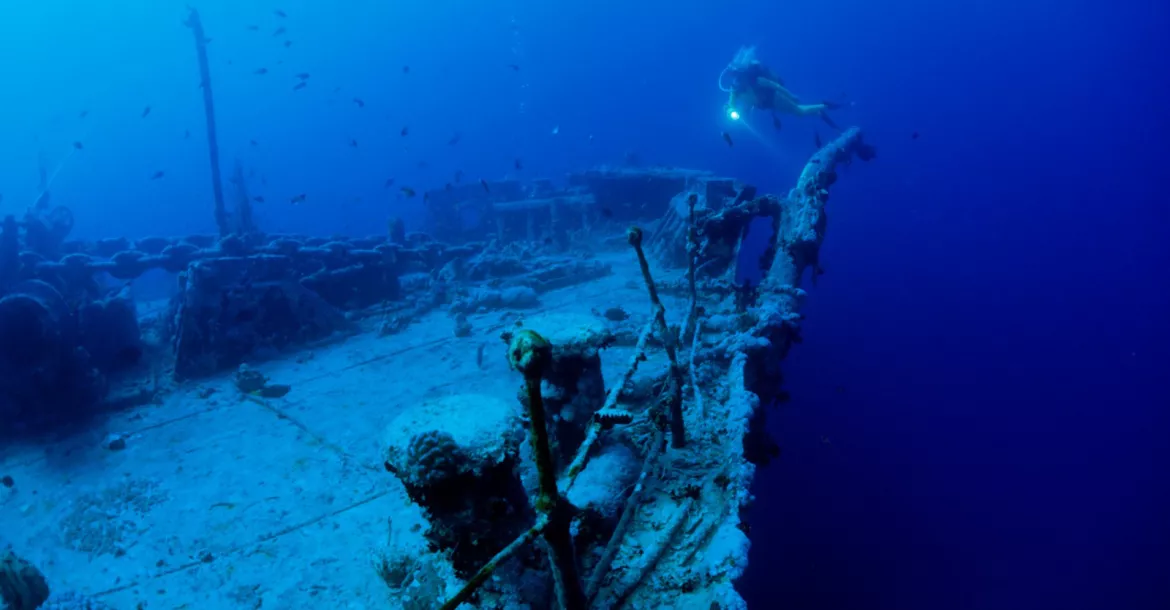
- Wrecks often come across as very static objects. Therefore, divers swimming into the picture can add something important. A dive lamp can bring out beautiful effects. ■
Published in
-
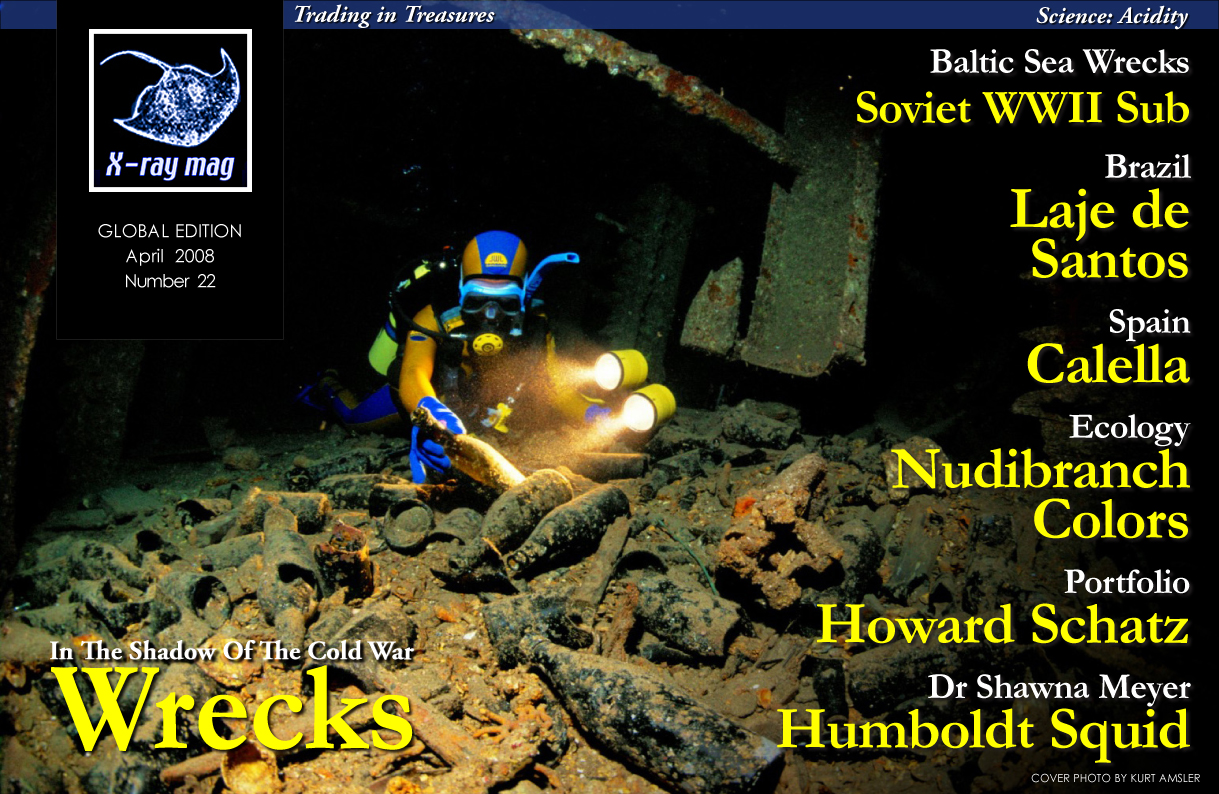
X-Ray Mag #22
- Läs mer om X-Ray Mag #22
- Log in to post comments

