Still photography

Selective Color in Underwater Photography

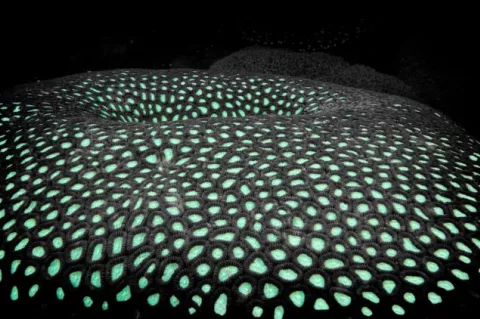
Coralscape, by John A. Ares
Photo 1 “After.” Coralscape, by John A. Ares. Selective color has been applied in postproduction. (See Photo 3 for the original image.)

Selective color is a multi-step procedure in postproduction of images, allowing certain colors to be highlighted while removing color in the rest of the image. Underwater photographer John A. Ares gives us a step-by-step look at how one can use this unique effect to transform underwater images into artistic creations.

My Favorite Color Contrast Pix: Contributors' Picks

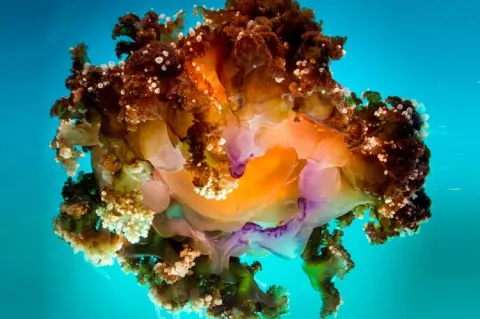
Cassiopea jellyfish, Dumaguette, Philippines. Photo by John A. Ares
Photo by John A. Ares: Cassiopea (upside-down) jellyfish, Dumaguete, Philippines. Gear: Canon EOS Rebel SL1 camera, Canon EF-S 18-55mm f/3.5-5.6 IS STM lens set at 18mm, Ikelite housing, twin Ikelite 161 strobes. Exposure: ISO 400, f/16, 1/160s

We asked our contributors what their favorite images of color contrasts were, and they sent back photos and stories revealing the diversity of color contrasts found under the waves.

My Favorite Underwater Progeny Pictures: Contributors' Picks

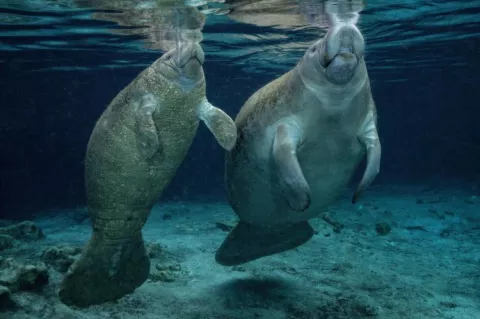
Manatee calf with mother, Florida, USA. Photo by Don Silcock
Photo by Don Silcock: Manatee calf with mother, Florida, USA. Exposure: ISO 800, f/11, 1/60s. Gear: Nikon D800 camera, Nikon 16-35mm lens, Nauticam housing, dual Ikelite DS160 strobes

We asked our contributors what their favorite images of broods and juveniles were, and they sent us photos and stories about the offspring and parenting behaviors of a variety of marine species.

My Favorite Underwater Portraits: Contributors' Picks

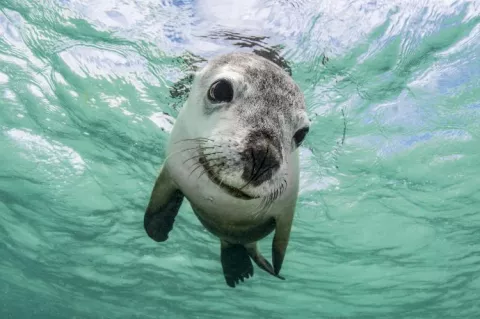
Gentle Soul, photo of Australian sea lion by Celia Kujala

We asked our contributors what their favorite underwater portraits were, and they sent us photos and tales of intriguing marine life. From sea lions to hammerhead sharks, manatees to sea turtles, dolphins to pilot whales, lemon sharks to pufferfish, wrasse and seahorses, and even kids, X-Ray Mag contributors share their favorite images showing a range of faces and personalities found under the waves.

My Most Unusual & Unexpected Dive: Contributors Picks

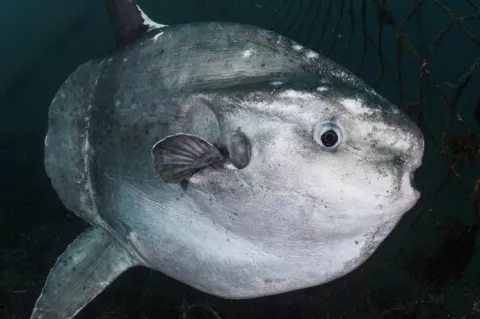
Photo by Martin Voeller
Mola mola caught in fishermen’s nets, Chiba, Japan. Photo by Martin Voeller

We asked our contrib­utors what their most unusual or unexpected dive was and they sent us photos and tales of unique experiences under the waves, some involving interactions with intriguing species, others purely chance encounters or surprising discoveries.

My Favorite Underwater Photo Technique: Contributors' Picks

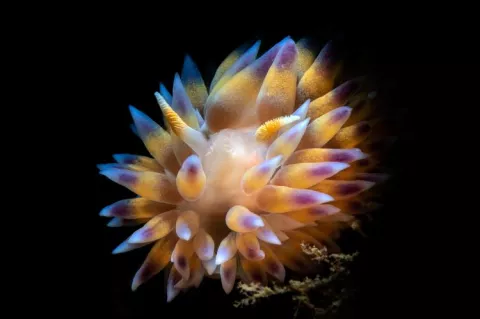
Photo by Kate Jonker
Photo by Kate Jonker: Blue and yellow gasflame nudibranch, South Africa. Exposure: ISO 160, f/18, 1/250s. Gear: Canon EOS 7D Mark II camera, Canon 60mm macro lens, Sea&Sea MDX housing, Inon Z240 strobe with Iardino’s Snooty, OrcaTorch D900V for spotting light

We asked our contributors what their favorite underwater photography technique was and they sent us images and insights into a range of intriguing techniques from close-up wide-angle to use of reflective cylinders and Snell's window to circular fisheye and snoots to using sunballs and sunrays for backlighting as well as how to create black backgrounds.

X-Ray Mag Photo Challenge: Comparisons

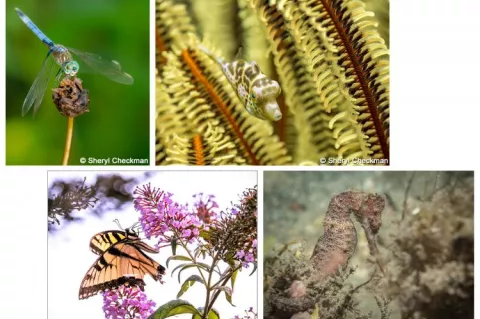
Comparison III and Comparison IV by Sheryl Checkman

Back in 2020, we challenged underwater photographers—many of whom found themselves stuck inside or unable to go diving during the pandemic—to search through their image archives and match a topside shot with one of their own underwater shots, in a side-by-side comparison.

Proper Export of Underwater Images in Postproduction

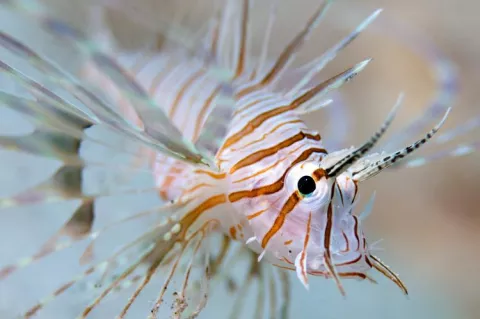
Lionfish, the image to be used for this tutorial

In this series of articles on postproduction of underwater images, we have worked a lot on white balance settings, basic and advanced exposure corrections, contrast and curves, advanced techniques of removing colour casts, basic and advanced retouching, final colour boost, cropping and sharpening. Finally, our image is ready! And now, we arrive at the question: What do I do with it?